🐃
Prisma ORM and Turso (with Next.js 14+ App Router) (English Version)
September 2, 2024
8 min read

Prisma ORM offers the advantage of writing schemas simply, and its prisma-client can be used in the backend with type safety. Prisma supports various SQL-based DBMS, one of which is SQLite. When deploying an application, we also need a place to store our SQLite-based data. The most popular DBaaS choice for SQLite is Turso.
In this article, I will share how to use Turso and Prisma with Next.js 14+ (App Router).
# Preparing
Before using Turso, we need to set up Next.js and Prisma first.
## Installing Next.js
To install Next.js, you can run:
npx create-next-app my-next-appbash
Here, I’m using the program name my-next-app. Once the installation process is complete, we can navigate into the app folder by running:
cd my-next-appbash
With that, the Next.js installation process is complete. Next, let's install Prisma.
## Installing Prisma
To install Prisma, run the following commands:
npm install @prisma/client
npm install prisma --save-dev
npx prisma initbash
## Setup Prisma
After that, we can define our schema model in /prisma/schema.prisma. Here, I'll create a simple model like this:
generator client {
    provider        = "prisma-client-js"
}

datasource db {
    provider = "sqlite"
    url      = "file:./dev.db"
}

model Post {
  id      Int     @id @default(autoincrement())
  title   String
  content String?
  createdAt DateTime @default(now())
}prisma
Next, run the migration process with the following command:
npx prisma migrate dev --name initbash
Here, I named the migration init, which will generate an SQL file at /prisma/migrations/[date]_init/migration.sql containing:
-- CreateTable
CREATE TABLE "Post" (
    "id" TEXT NOT NULL PRIMARY KEY,
    "title" TEXT NOT NULL,
    "content" TEXT,
    "createdAt" DATETIME NOT NULL DEFAULT CURRENT_TIMESTAMP,
);sql
By running the previous command, a Prisma Client folder should also be generated at node_modules/.prisma/client, which we can use to access models with type safety in TypeScript. If the folder is not generated, you can run:
npx prisma generatebash
## Integrating Prisma with Next.js
After successfully setting up Prisma, we can integrate it into our Next.js application. Create a file /src/server/db.ts containing:
import { PrismaClient } from "@prisma/client";

const createPrismaClient = () =>
  new PrismaClient({
    log:
      process.env.NODE_ENV === "development" ? ["query", "error", "warn"] : ["error"],
  });

const globalForPrisma = globalThis as unknown as {
  prisma: ReturnType<typeof createPrismaClient> | undefined;
};

export const db = globalForPrisma.prisma ?? createPrismaClient();

if (process.env.NODE_ENV !== "production") globalForPrisma.prisma = db;ts
This allows us to call the Prisma client using the db variable.
# Turso
## Installing Turso-CLI
Turso provides a Turso-CLI (Command Line Interface) feature that makes it easy to manage and communicate with your databases on Turso. To install Turso-CLI, run:
brew install tursodatabase/tap/tursobash
After the Turso-CLI installation is complete, you can see the av Turso periodically checks the activity of your databases. If your database has been idle for a long time, Turso will automatically deactivate it. To reactivate it, you can go to your DB dashboard, then go to the "Settings" menu. If your settings menu looks like the image below, then your database is active 👍.ailable commands by running:
turso --helpbash
Which will output:
Turso CLI

Usage:
  turso [command]

Available Commands:
  auth         Authenticate with Turso
  config       Manage your CLI configuration
  contact      Reach out to the makers of Turso for help or feedback
  db           Manage databases
  dev          starts a local development server for Turso
  group        Manage your database groups
  help         Help about any command
  org          Manage your organizations
  plan         Manage your organization plan
  quickstart   New to Turso? Start here!
  relax        Sometimes you feel like you're working too hard... relax!
  update       Update the CLI to the latest version

Flags:
  -c, --config-path string   Path to the directory with config file
  -h, --help                 help for turso
  -v, --version              version for tursoplaintext
## Turso Login
Next, you need to log in to the Turso website using your default browser. You can access the Turso website at https://turso.tech and navigate to the login page.
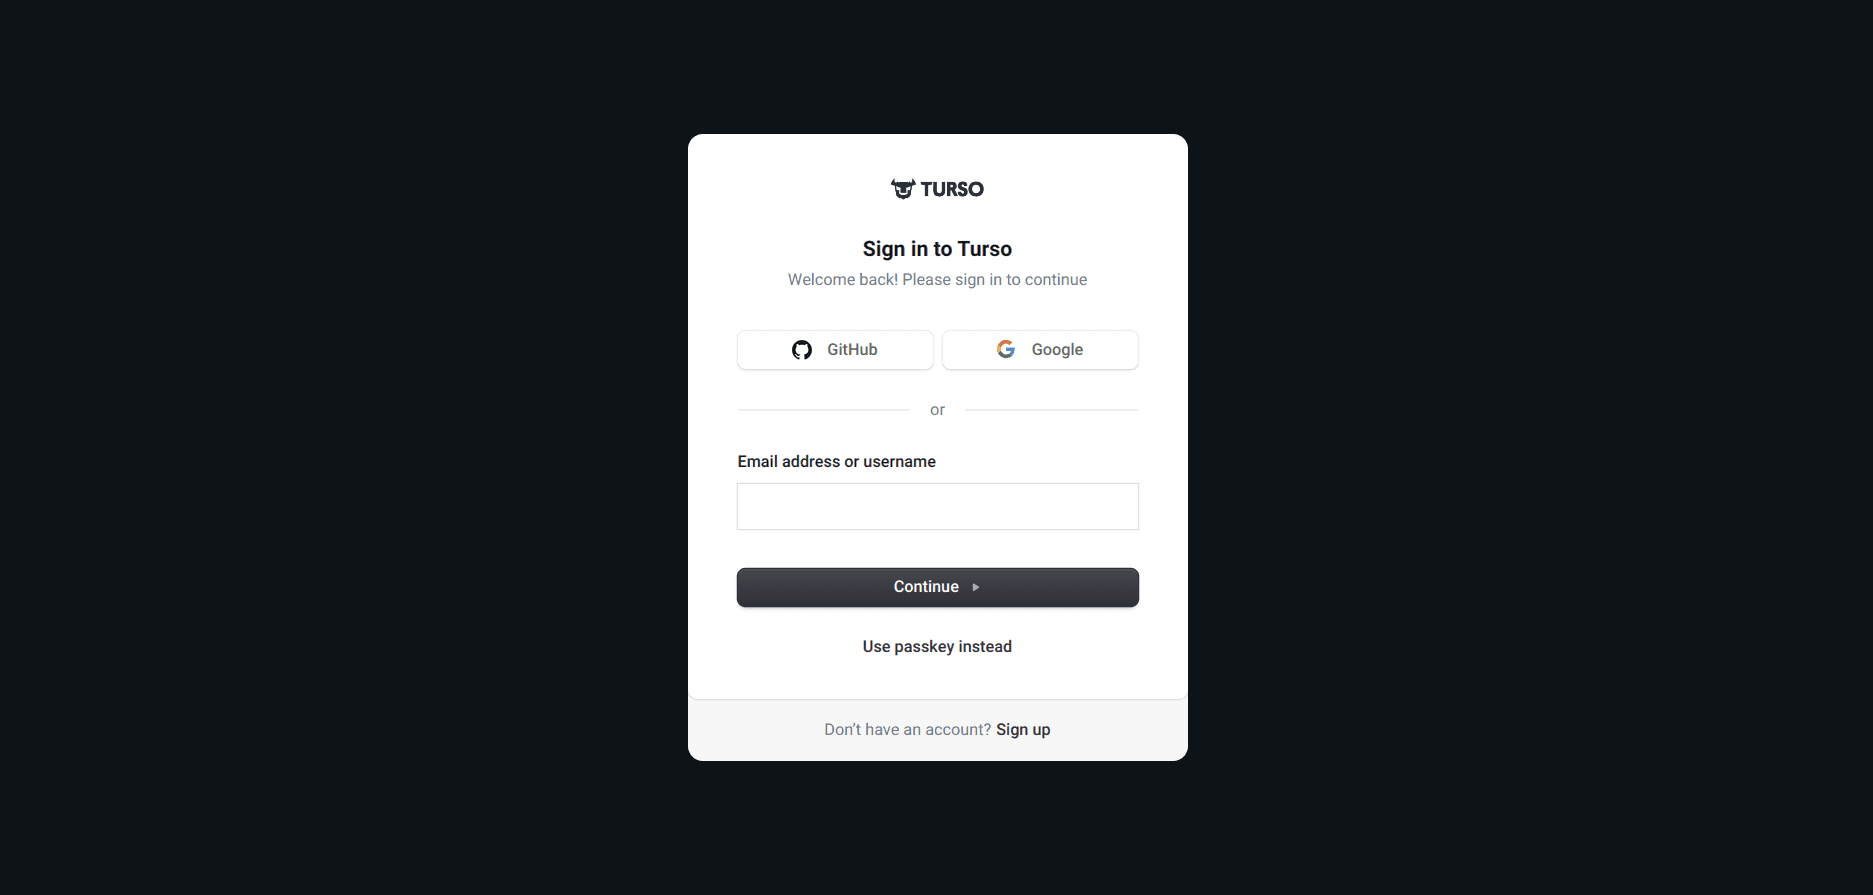
Turso Login Page
I already have a GitHub account, so I can log in using the GitHub provider.
Once you're logged in through your default browser, return to the terminal and run the following command:
turso auth loginbash
## Turso Dashboard
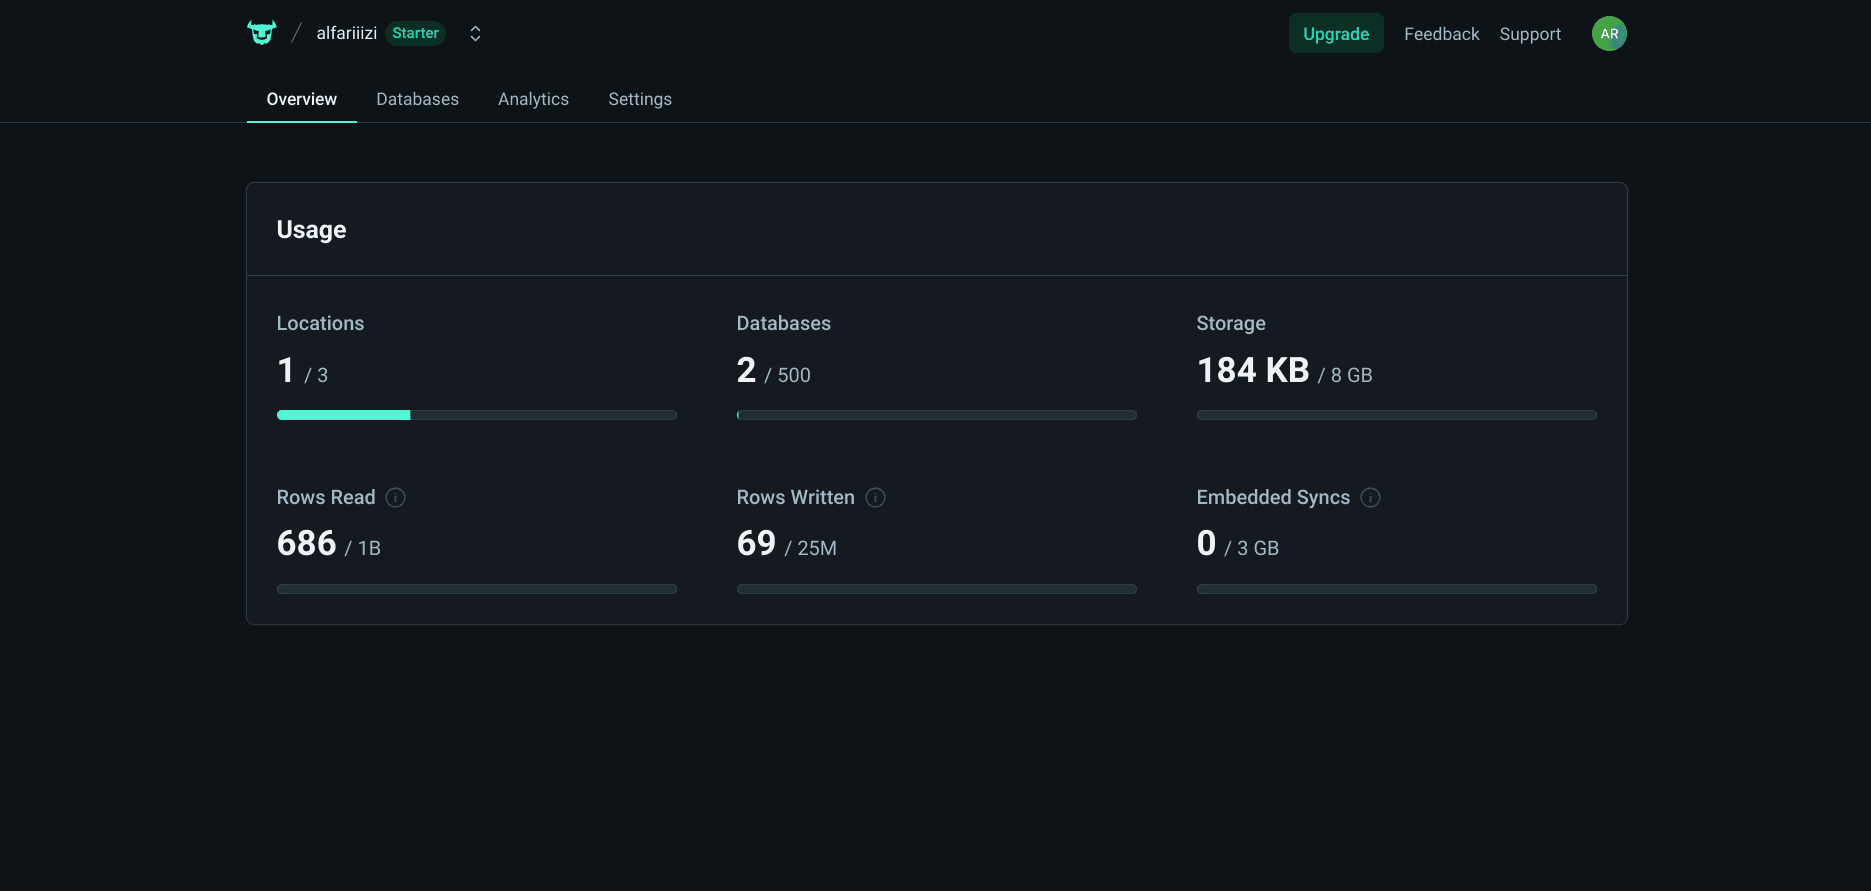
Turso Dashboard
After logging in, Turso will redirect you to the dashboard page. To create a new database, navigate to the "Databases" menu and click "Create Database". A form will appear asking for the "database name" and "database group". Here, I'll name the database "testing" and then click "Create Database".
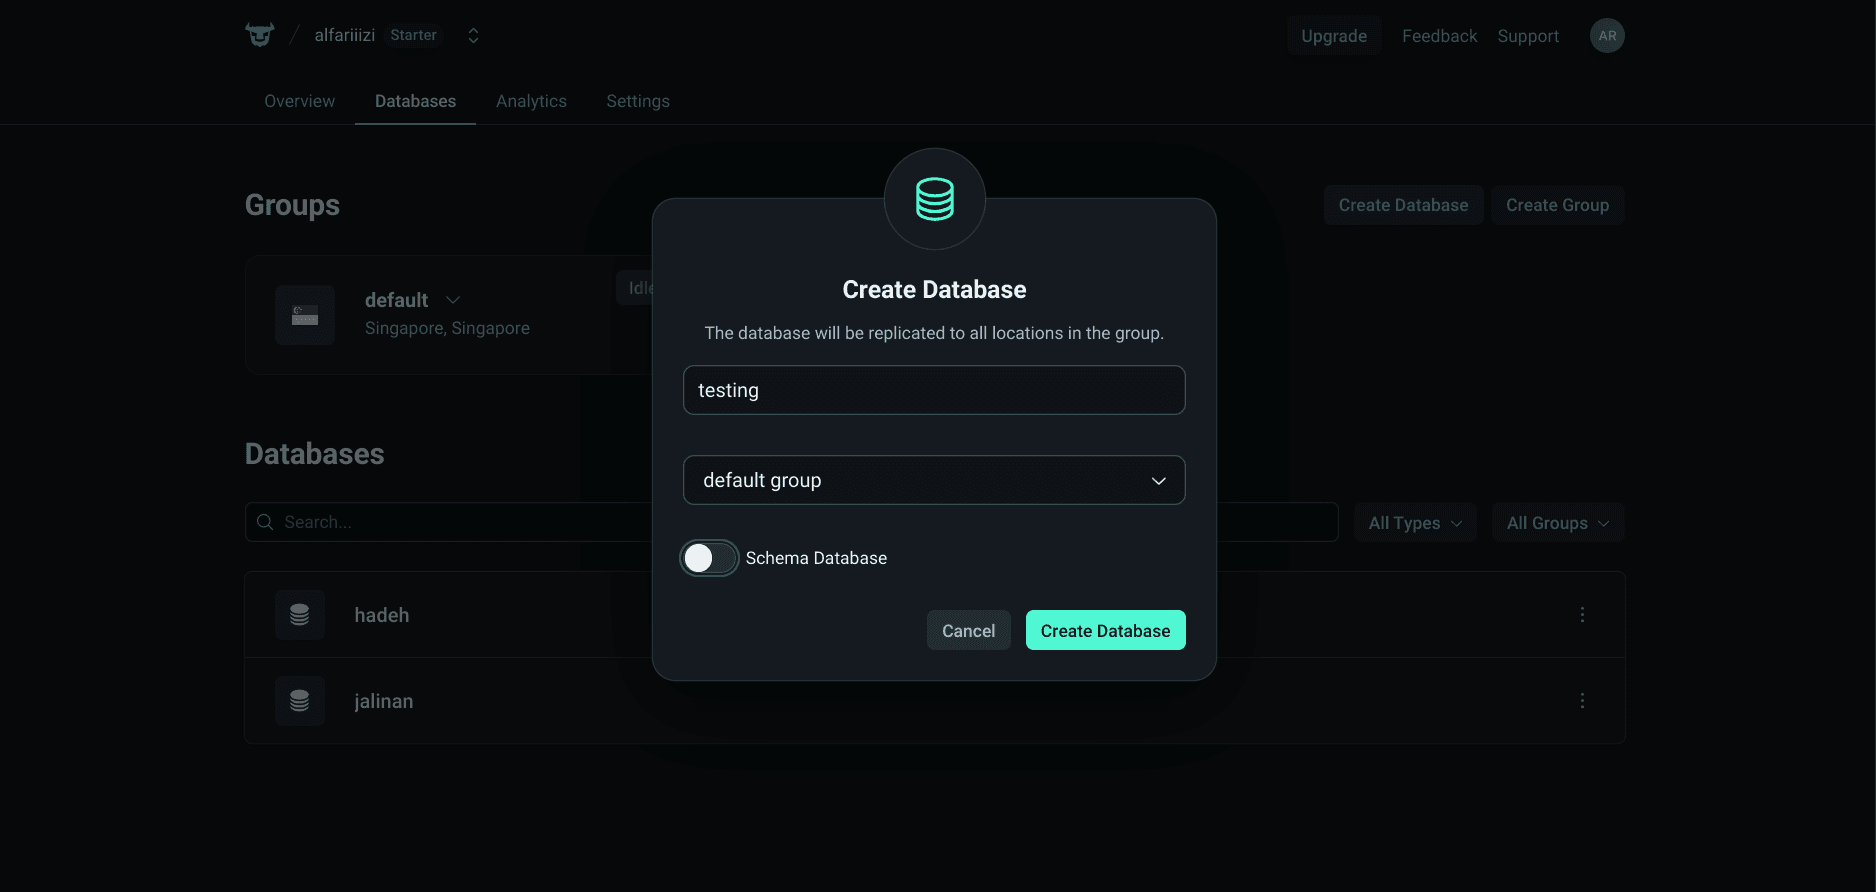
Turso Create DB
Once the database creation process is complete, you'll be redirected to the specific database dashboard view.
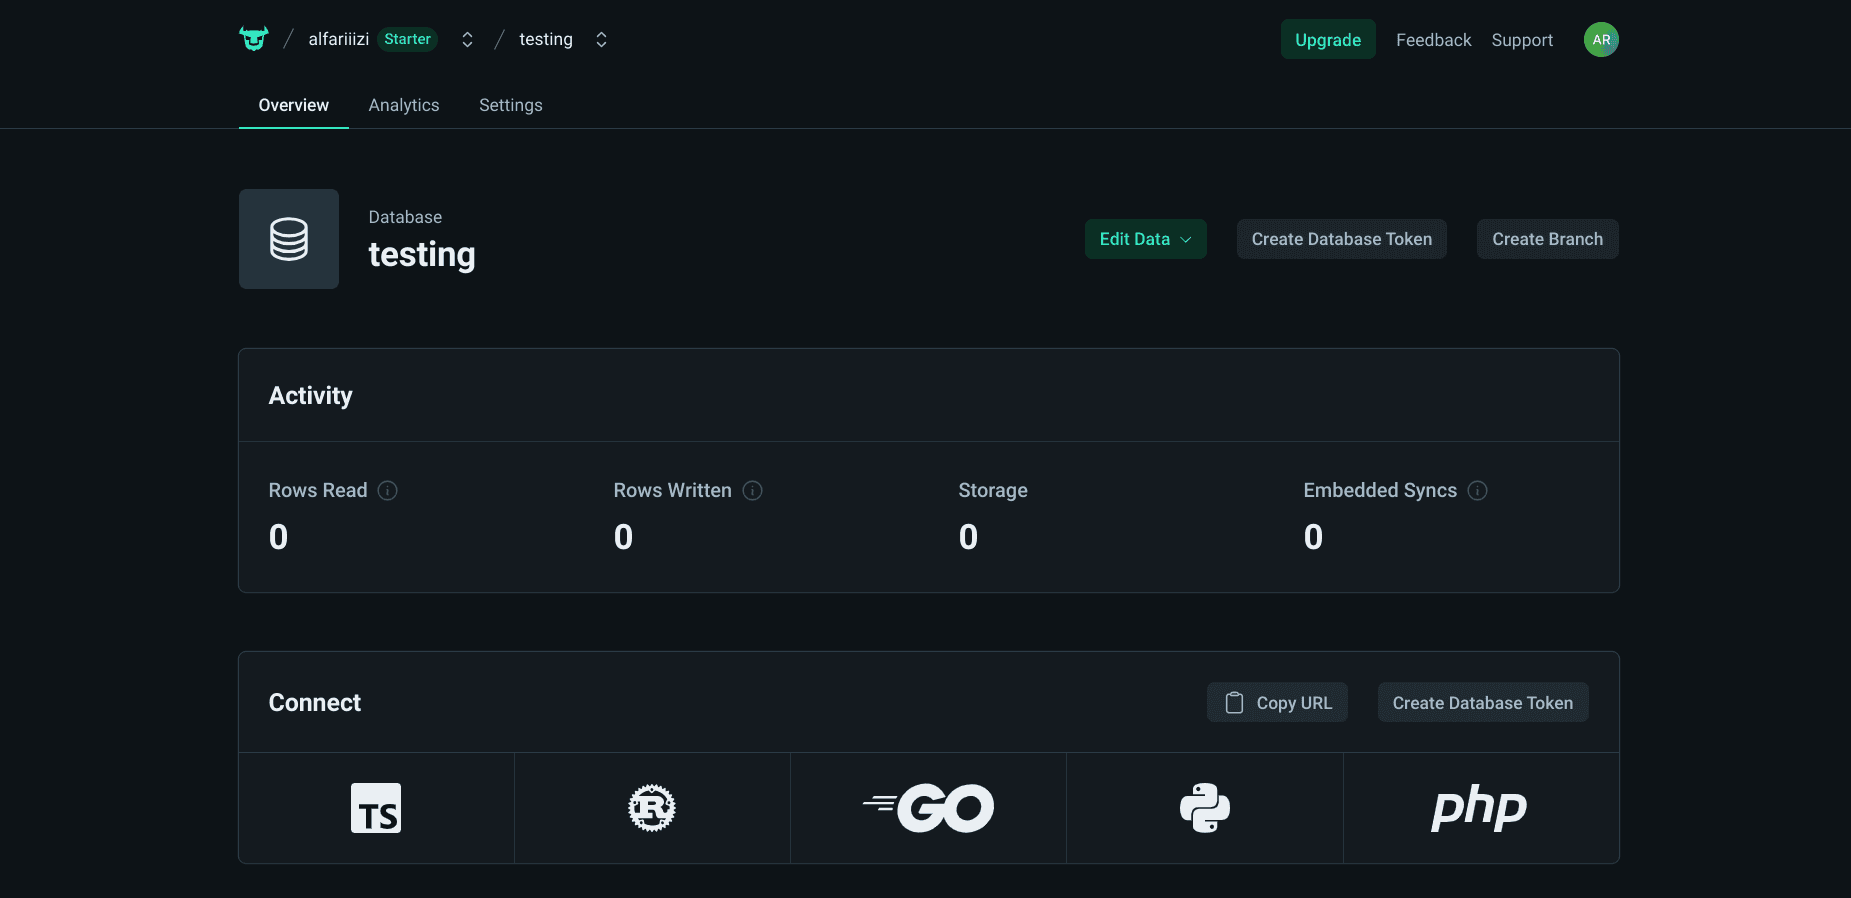
Tampilan Dashboard Testing
## Connecting Prisma to Turso
### File .env
Go back to your Next.js project and create an .env file containing:
TURSO_DATABASE_URL=
TURSO_AUTH_TOKEN=env
You can obtain the value for TURSO_DATABASE_URL by running:
turso db show [db_name]bash
Since I previously used the database name "testing", I'll replace [db_name] with "testing":
turso db show testingbash
Copy and paste the results from each command into your .env file:
TURSO_DATABASE_URL=libsql://testing-alfariiizi.turso.io
TURSO_AUTH_TOKEN=eyJhbGciOiJFZERTQSIsInR5cCI6IkpXVCJ9.eyJleHAiOjE3MjUzNTM2MjMsImlhdCI6MTcyNTI2NzIyMywicCI6eyJybyI6eyJucyI6WyJhWZmMS00NmRlLTQ4YWItODRiZS0wMzViNTI3Njc4OTYiXX19fQ._ySuvvA-ygudqJnkvo8w7BW9ujPM3HwvB_lHPIURNN-zN0L-3sBvAlihd5FaBrFZc1BiZcCET_TYuA4vGAQenv
Warning
Do not share the contents of TURSO_AUTH_TOKEN carelessly!
### Prisma Adapter
We go to /prisma/schema.prisma, then we add driverAdapters to previewFeatures:
generator client {
    provider        = "prisma-client-js"
    previewFeatures = ["driverAdapters"]
}

datasource db {
    provider = "sqlite"
    url      = "file:./dev.db"
}

model Post {
  id      Int     @id @default(autoincrement())
  title   String
  content String?
  createdAt DateTime @default(now())
}prisma
After that we go to the /src/server/db.ts file, then we add the following code:
import { PrismaClient } from "@prisma/client";
import { PrismaLibSQL } from "@prisma/adapter-libsql";
import { createClient } from "@libsql/client";

const libsql = createClient({
  url: `${process.env.TURSO_DATABASE_URL}`,
  authToken: `${process.env.TURSO_AUTH_TOKEN}`,
});

const adapter = new PrismaLibSQL(libsql);

const createPrismaClient = () =>
  new PrismaClient({
    adapter,
    log:
      process.env.NODE_ENV === "development" ? ["query", "error", "warn"] : ["error"],
  });

const globalForPrisma = globalThis as unknown as {
  prisma: ReturnType<typeof createPrismaClient> | undefined;
};

export const db = globalForPrisma.prisma ?? createPrismaClient();

if (process.env.NODE_ENV !== "production") globalForPrisma.prisma = db;ts
Then we run the migration again:
npx prisma migrate dev --name initbash
You can also name the migration the same as before, which is "init".
## Push migration to Turso
After completing all the previous steps, it’s time to push the migration results to Turso. We can push it using the command:
turso db shell turso-prisma-db < ./prisma/migrations/20240902093411_init/migration.sqlbash
You need to adjust the 20240902093411_init part according to your migration file path.
If the push process is successful, you can return to the Turso dashboard website, click "Edit Data," and choose "Outerbase Studio" or "Drizzle Studio." You will find the "Post" table in that database.
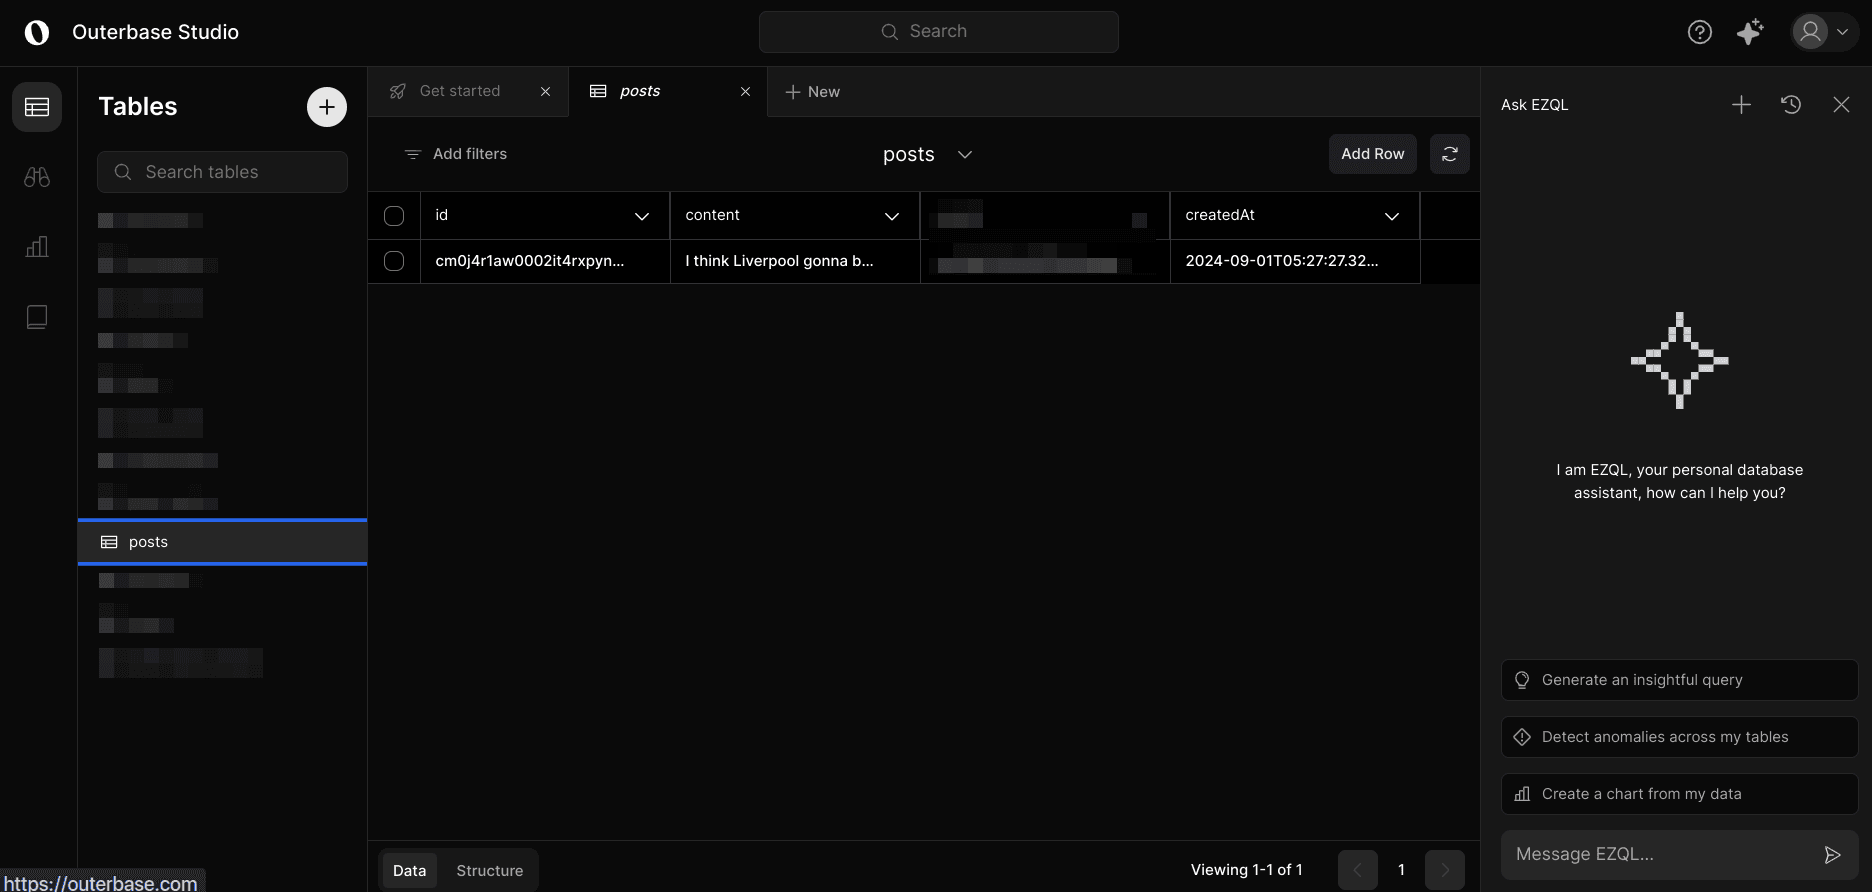
Outerbase Studio
At this point, you can start using Turso in your application.
Warning
Turso periodically checks the activity of your databases. If your database has been idle for a long time, Turso will automatically deactivate it. To reactivate it, you can go to your DB dashboard, then go to the "Settings" menu. If your settings menu looks like the image below, then your database is active 👍.
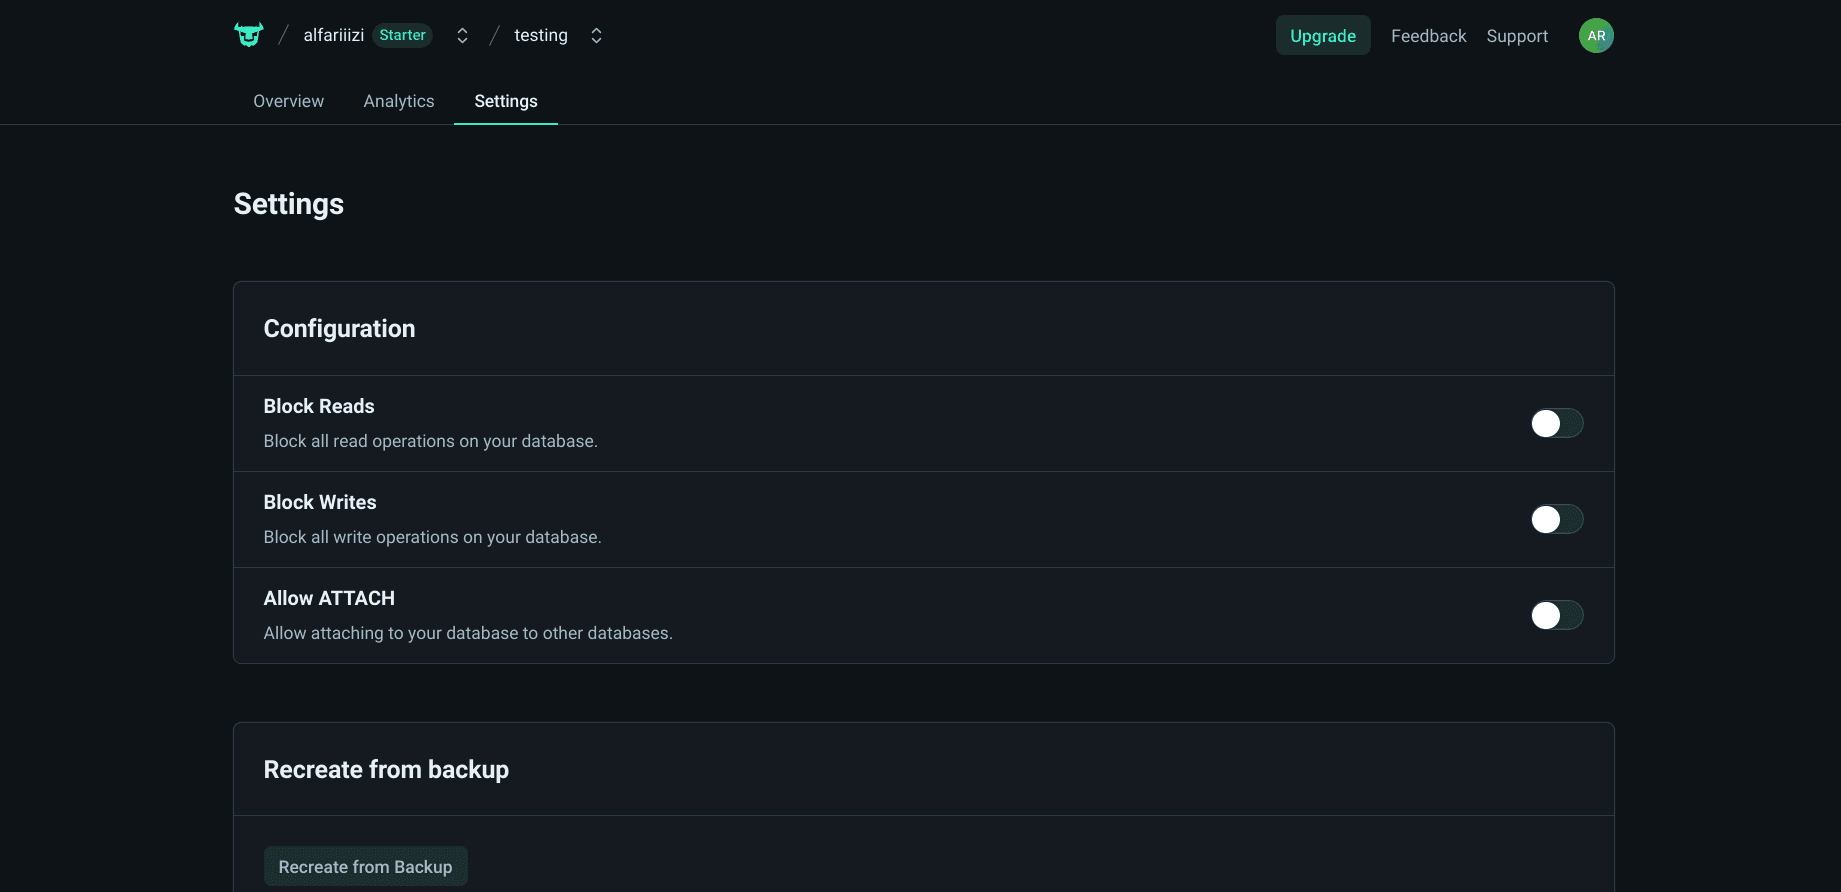
DB Dashboard Settings
# Kesimpulan
By combining Prisma and Turso, we can easily manage and deploy cloud-native Next.js applications based on SQLite. Turso also allows for scalable SQLite usage in the cloud, while Prisma provides ease in writing and managing database schemas with type safety in TypeScript.
If you found this post helpful, feel free to give me a reaction below. Or if you have any questions, you can write them in the comment section! Thank you and stay healthy!